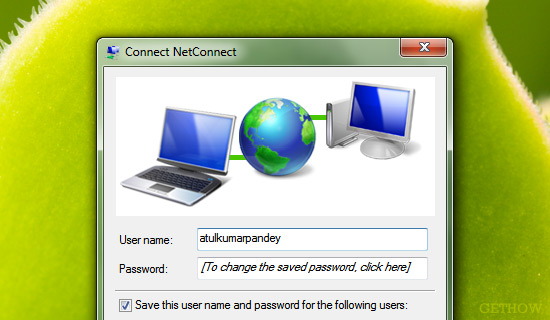
Almost 60% of world population is using dial up connection on their home computer to access the service of internet. In dial up connection we always had to dial a connection which is assigned by our internet service provider. But if you are tired to do this always again and again you can try a auto log on or auto connect a dial up connection on windows startup which is easy to setup.
Let’s see how to auto connect a dial up connection on windows startup.
You have to perform two basic steps to make your dial up connection flexible to auto connect each time when you start your windows computer.
Step 1 : Change the Setting of Dial Up Property
- Go to Properties of your Dial Up Connection
- Under Option Tab Uncheck “Display Progress While Connecting” and “Prompt for Name and Password, Certificate, etc.” and keep other settings same as it is.
- Press OK and Save the Settings.
You have successfully changed the default setting of your dial up connection. Now windows will never ask you to username and password and no message box will appear when you connect a dial up connection.
Step 2 : Place a Shortcut of Dial up Connection in Startup Folder
To make you connection auto dial or auto connect in windows startup we have to place a shortcut of that dial up connection is start up folder which is located inside start button.
- 1. Create a Shortcut of Dial Up Connection
To create a shortcut of a connection right click on it and select create a shortcut. Generally the shortcut is created on the desktop by itself when you create one.
- 2. Cut that Shortcut from Desktop
- 3. Paste it Under Startup Folder
To open startup folder right click on it and select open.
Now you are done here. Whenever you start your windows you will never have to connect a dial up connect each and every time it is now auto connectable.
This is the way by which you can auto connect a dial up connection on windows startup and make the connection more reliable.

